CLICK HERE FOR FREE BLOGGER TEMPLATES, LINK BUTTONS AND MORE! »
Showing posts with label wreaths. Show all posts

Tuesday, April 2, 2019

aDOORable wreaths

I've been doing a little decluttering, and I found so many pictures of projects I have done over the years, making me super excited to show them all off! So for today...wreaths! I LOVE wreaths-they are so fun to make and even more fun to give as gifts! Here are some of my faves...

The flash on this picture is a little overwhelming, but I loved this cute wreath I made for Azzi's nursery! Now Chase and Azzi have a baby sister...I'm thinking she probably needs a wreath for her door too... 😉


Chase Lee is a big UT fan, so I made him a special Bevo wreath! 

One of my fabulous supervisors during grad school was a TCU fan, so I made this for her office door!
After making this wreath, I decided to make wreaths for all of my supervisors as going away presents! This supervisor was a huge Rangers fan and this is probably my favorite wreath!

I made this one for myself after I graduated!
Alright, it's only Tuesday, and I was ready for Friday yesterday, so I'd better get some rest so I can be a tiny bit less crabby tomorrow! 😉

-Sarah

Wednesday, May 14, 2014

My First How-To!

Today was a bittersweet day for me. It was my last day interning at my current site. Exciting because that means I'm just one step closer to being a speech language pathologist, sad/scary because I won't have the same supervisor next year! :( I lucked out so much this year--my supervisor was beyond helpful but also willing to let me try things out on my own, which made me feel so much more confident! So to thank her for her help, I wanted to do something nice for her on my last day...which leads me to...

I got a little obsessive with tutorials of deco mesh wreaths over spring break, so Heather and I made my cousin's baby (Lilliana) a pretty pink and leopard one (you can see it on our last blog post). Then we got into a little wreath kick. I made one for our grandma for Easter but completely forgot to take a picture before giving it to her...Then Heather made this one for our mom for Easter.

So since I enjoyed making those wreaths so much (and my supervisor didn't have any decorations on her office door) I decided to make her a wreath to thank her for all of her support! And since I learned how to make them by looking at tutorials, I thought I would make my first ever tutorial and hopefully help someone else out! :)

I got a wire wreath from Hobby Lobby...I didn't check what size, but it was the second smallest they had. Then I hot glued pipe cleaners/chenille stems alternating with the top two wires and the bottom two. Some wreaths come pre-wired, but I think its worth saving a little money to just wire them yourself! 
 
Then I used this dark green deco mesh (I got this short roll--10X35 I think--from Walmart), looped it under so you can't see the end of it, and secured it to the wire wreath by twisting it with one of the outside pipe cleaners. 
I continued gathering and twisting the dark green mesh with all of the outside pipe cleaners.

I didn't take a picture after, but I did the same thing with the inside layer of pipe cleaners (and you don't need to cut the mesh in between--that just creates extra work for yourself!) 

Next, I used lighter green mesh and did the same thing to start it off, except this time I started on the opposite side and on an inside pipe cleaner.

This time I just went to the nearest pipe cleaner instead of going around the outside and inside separately. You can kind of see in the picture, but the light green is a wider roll than the dark green...I didn't check the measurements but it's the medium sized one at Hobby Lobby. :P

Then I used this cute green polka dot ribbon from Hobby Lobby and did the exact same thing to start it off (on an inner pipe cleaner)...so far pretty easy, right!?
I did the same thing with the ribbon as I did with the light green--just going to each pipe cleaner as I came to it. And I still hadn't cut either of the mesh or the ribbon at this point..Just in case I saw any areas that I wanted to be a little more full. It's easer to just loosen the pipe cleaners and puff the mesh out a little if it's still attached.
Next, I took some cute sparkly gold ribbon from Hob Lob and cut small little strips and twisted them onto all the pipe cleaners.

I got these cutesy white letters from Hob Lob too, and I planned to make them sparkling gold with Mod Podge and loose fine glitter. I love that look, BUT there is an important step before mod podging and loose glittering (making up my own verbs again...). It's really important to do a quick coat of whatever color paint is close to the color glitter you're going to use. Otherwise any spots that aren't completely covered in glitter will stand out. So I put a quick and sloppy coat of gold paint on these letters
While I waited for the letters to dry, I put a coat of metallic green paint on this mini chalkboard I found at Hob Lob.
While the letters and chalkboard were drying, I hot glued little strips of a white feather boa to the center of every gold ribbon I had twisted down. The hot glue reinforced the twisted pipe cleaner too, which was good. (At this point, I was pretty happy with the fullness, so I cut the mesh and ribbon). 
I found a chevron print on Google and printed it out. I put it on top of the chalkboard and traced the pattern with a pencil (pushing down pretty hard so it would make a slight indention in the wood).
In this picture you can kind of see the indention the pencil left.


I used a small paintbrush and did one coat of white paint on top of all the indentions...In retrospect, I probably could have used a paint pen with better control, but I didn't even think of that then!

One more coat of white paint (and more green paint to fix any mishaps)!

While the second coat of paint dried, I added Mod Podge and loose fine gold glitter to the letters. How pretty and sparkly are those?! I love them. You can kind of see how I didn't paint the edges of the letters gold, which just reinforces the importance of painting before glittering!! ;)

Then I went back to the chalkboard...I added Mod Podge with my little paintbrush to all the white areas then sprinkled loose fine white glitter on them. I considered skipping all these steps with the chalkboard and just Mod Podging a scrapbook paper to it, which would look more precise...but I really didn't like the look of paper on a wreath and thought paint and the little imperfections that go with it added to the homemade look.

I forgot to take pictures as I made the letters, but I found a font I liked, printed it up, cut it out, traced it with pencil, then went over my pencil marks twice with a white paint pen. Easy peasy!


I hot glued the chalkboard on the wreath, then the letters.


Then I used my finger to curl the pipe cleaners that were sticking out

Then I used an eraser to clean up the chalkboard a little! And fyi: the school's colors are green, white, and a yellowish gold. So I didn't do St. Patty's Day colors just for fun! ;)


So my wreath addiction is hopefully just beginning because I love to make them! I hope this how-to helped someone as much as the ones I looked at helped me! If it seems like too much work to you and you'd rather just pay someone else to make one for you, hit me up! ;)

-Sarah


Thursday, May 1, 2014

Days of the Week #neverusedhashtagsbefore

I don't write near as often as I should, so to make up for every day this week, I'm going to be a total dork and make up my own days of the week hashtags (you've all seen the #throwbackThursday, #mancrushMonday, etc. posts, right?!). My goal is to make them even cornier than the ones everyone uses...I'm pretty sure I can reach that goal--if I'm good at anything, it's being completely corny!


#sparklesunday  

Heather and I took all of our old pointe shoes and decorated them...we started a Disney princess theme, but this one isn't finished. I couldn't ever find a ribbon or anything to hang it with that seemed to fit it. Hopefully I'll finish it someday!
#margaritamonday     

For Heather's bachelorette party, I used some kind of glue for plastic (I don't remember what now!) and loose glitter to decorate these margarita glasses. And Heather's has ''bride'' on the bottom of hers in little rhinestones
#menumonday      (for those who don't drink! ;) )

I made this for my mom for mother's day this year (shh, don't tell her yet!) and haven't finished making the menu cards that go in the clothespins,  so I've got to get on that!! I'm going to let her decide how to use the green boxes on it--either putting main course ideas in one/desserts in the other, using one for quick dishes/other for when she has more time, etc.
#tututuesday   

I love this tutu Heather made!! too stinking cute.


#weddingwednesday    

Heather's and my cousin, Christen during her bachelorette party! I designed her sash on a website (bridalpartytees.com), and I think it turned out pretty cute!! (the part under her hair says "the future")
#thankfulthursday     

Heather got this Thanksgiving onesie for her niece last year and made her this adorable tutu and flower headband to match!! 
#featherfrenzyfriday 

Heather's and my first attempt at a decomesh wreath! We made this for our cousin's baby whose due date is on my birthday!! Can't wait!!


#sassysaturday    

Scamper is as sassy as it gets. Especially when she wears her Barbie shirt with her special Auntie-made tutu and bow ;)


So since tomorrow (well, technically today!) is "feather frenzy Friday", I guess I need to plan some kind of feather craft to do...maybe my corny days of the week hashtags will help remind me to make good and crafty use of my spare time within the next two weeks 'till summer school starts!! ;)

Happy Friday everyone!
-Sarah


Sunday, December 8, 2013

SICK of the Cold

Here in Texas we have been iced in going on 4 days now. Wow, I am so sick of the cold. Also, I'm sick of the cold/stomach bug I'm assuming I got from Heather over Thanksgiving (thanks a lot, sister!). After over 2 days of literally lying in bed all day every day, only getting up for the occasional bathroom break, I decided to be productive today! SO since I haven't updated in way too long, here's an update! :)

Things have been..........crazy. And that's putting it lightly. There hasn't been a lot of time for crafting, BUT the crafting we have done has been put to good use! Here are pictures! I'll start with the oldest :)

 Halloween 2012
Heather and I actually took the time to decorate our house in Halloween 2012 for a mini Halloween party! Here are some of the things we made for it...

Time consuming but easy, and I think it turned out pretty cute!


I LOVE this candy bucket Heather and I made. You can't see all of it too well in this picture, but it says "Witch's Brew" and it's written on top of a broom!


 Baby Shower 2013

Our cousin Jessica had a baby shower in spring of this year, so we made her sweet girl a few things! We will finally get to meet her this Christmas and I can't wait!!!

Our cousin's favorite princess growing up was Cinderella, so we made this for her daughter (Riley). The picture was taken with my phone and is horrible, and we did move the wired flowers around before actually giving it to her! lol!
          Heather made this bow, and I thought it was just so stinkin' precious!
What little girl doesn't want a tutu!?
Riley's daddy is in the military, so what better way to honor him than to add camo ribbon to a girly bow? ;)
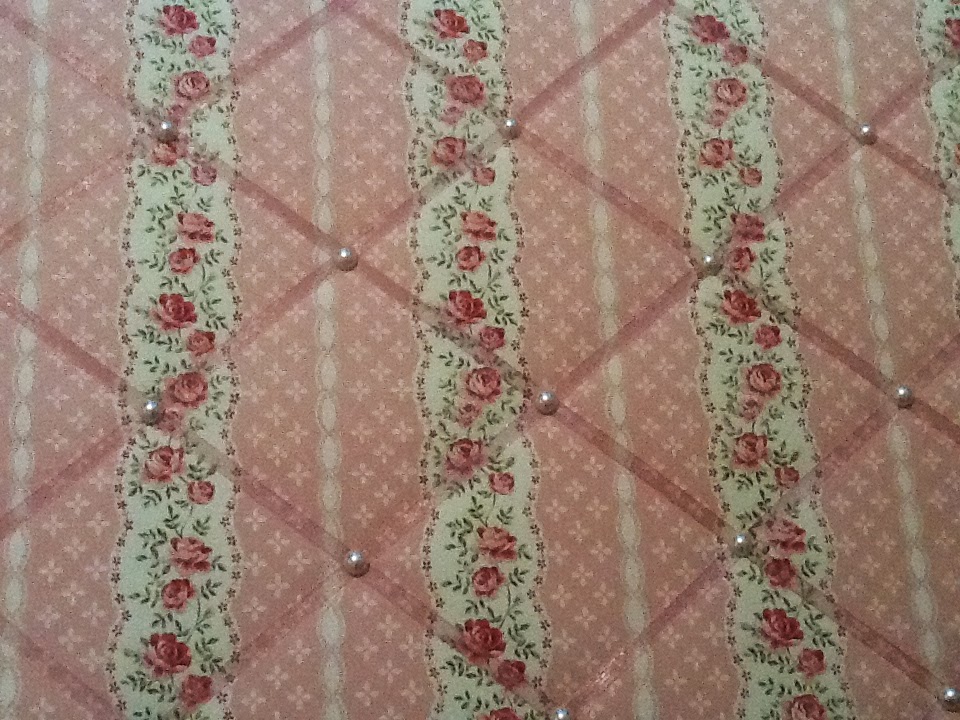
Our aunt let us know the style Jessica wanted to decorate the nursery,
 so we made a memo board to match!
Heather's Wedding 2013
Heather got married to her long-time boyfriend in June! I have WAY more pictures of homemade things that we (and our mom!) did for the wedding/shower/bachelorette party, but the pictures are on my camera, and I don't have it with me :(
It's blurry, but I made these invitations for the shower!
And I made these invitations for the bachelorette party!

We made "sweating for the wedding" shirts to wear during our workouts in the months before the wedding! I don't have a picture of mine or my friend Brittany's, but all three of us made them!
Heather decided to do a broach bouquet, and she spent so much time on it! I think every minute was worth it--
it's beautiful!
Here is a picture of all of the bridesmaids and Heather and our broach bouquets!


Chase's 3rd Birthday

My favorite little boy had his 3rd birthday party in July!

Brittany and I made the banner, Brittany made the adorable little candy trains in the right corner, and her friend made the cute little cake and cupcakes!


Brittany's Wedding 2013

Three months after Heather's wedding, my BFF, Brittany got married! I have a few more pictures of things we did for her wedding too, but they're not with me! I think this was both of our most proud piece of art though...  


It's blurry, but isn't this card box absolutely gorgeous!? We painstakingly put tiny rhinestones, one by one, on the damask print. One of her friends said, "It's beautiful, but no one is going to realize that you did all of that! They'll think you bought it like that!" We said, "Oh well, it's beautiful!" lol!


And coming soon...Our cousin Christen is getting married, too! (all three of my best friends got married within 7 months of each other--how crazy is that!?! I LOVE it!) So, I'm sure I will have some more pictures to show after her wedding!


Since that is all I can find of the most recent homemade things, that's all I'm going to post! Hope you enjoyed it and.....


 MERRY CHRISTMAS!!!!!


 -Sarah